Creating Solutions
You can create and publish new Solutions using the pre-designed templates. The data provided by the Users in the template is validated for correctness in accordance with the instructions specified in the template. After checking the correctness of the data, you can create the Solutions using the portal.
The following section describes how to create a Solution using the Template Download and Template Upload option.
To download a template, do as follows:
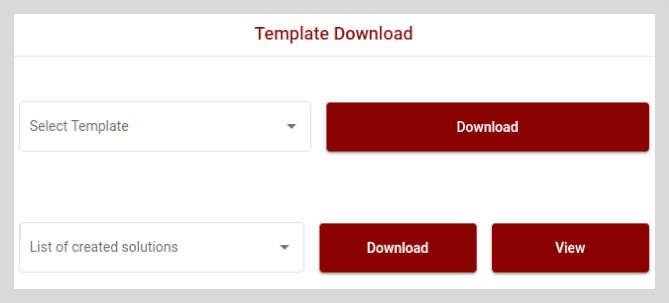
On the Template Download tile, select the relevant template from the Select Template dropdown and then click Download.

Fill in the relevant details as per the instructions given in the downloaded template.
Save the template.
After you save the template you can upload and validate the data using the Template Upload option.
Validate the Template and Create a Solution
To validate and create a Solution, do as follows:
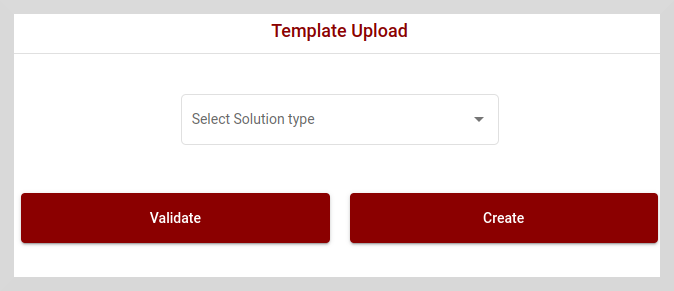
On the Template Upload tile, select the Solution template from the Select Solution type dropdown.

Click Validate to check the correctness of the data as per the instructions given in the template.
If the data you entered is valid, then you can either keep the template ready for future use or click Create to create a Solution. A message appears indicating that the Solution is created successfully.

Create is a two-step process that involves validating the template first and then creating the Solution.
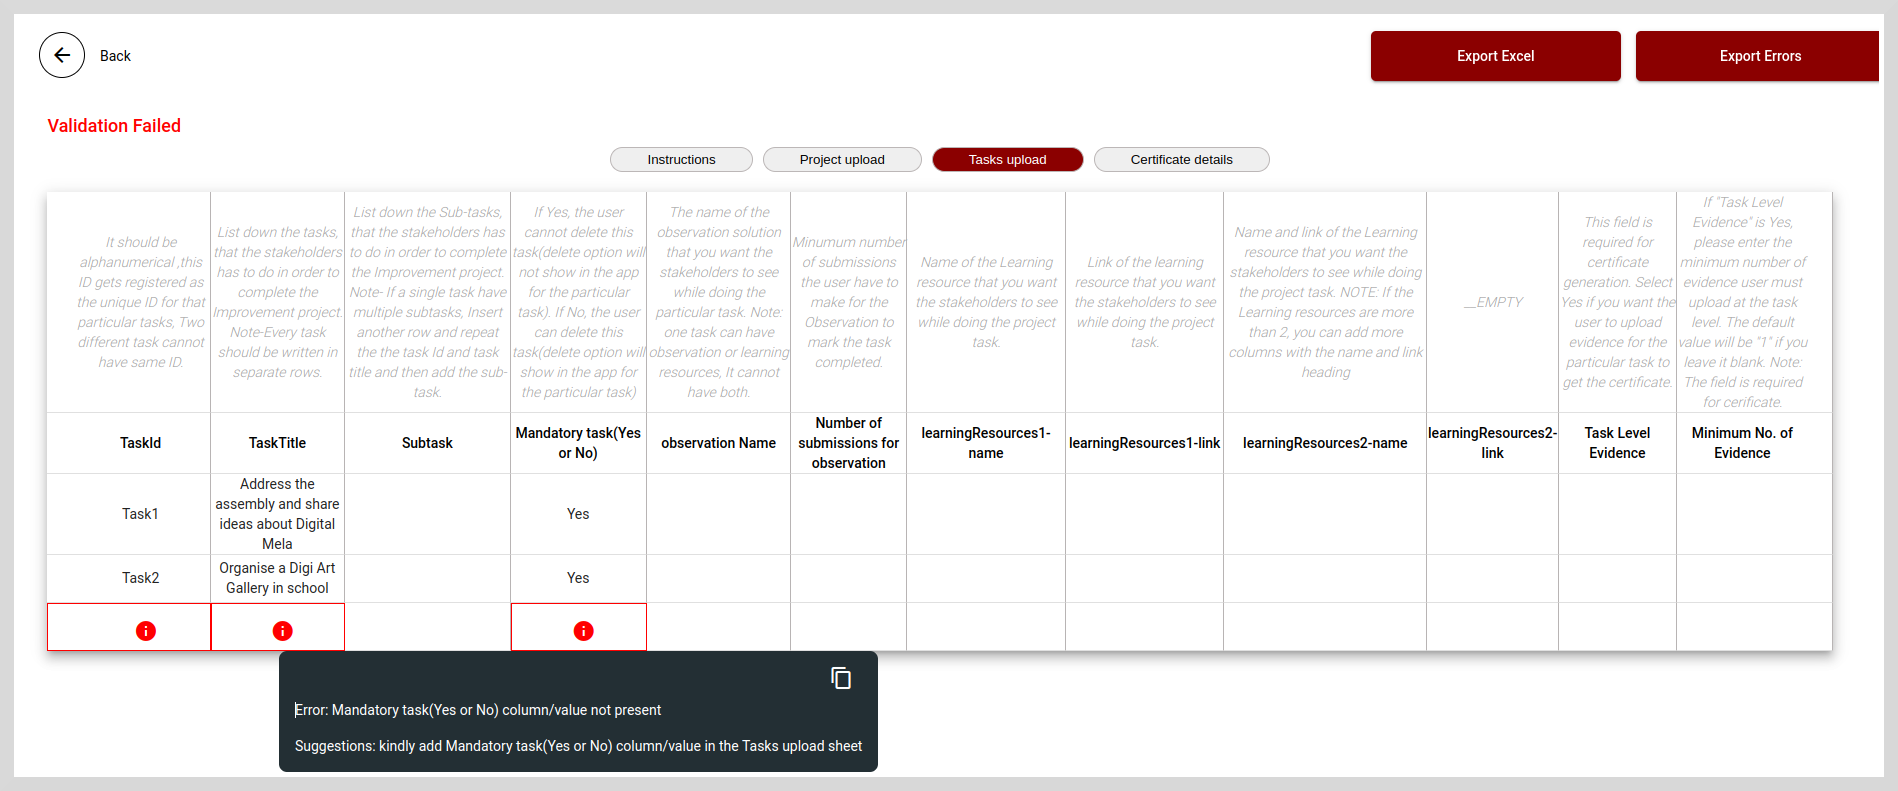
If the data is not valid, then a message appears indicating that the validation has failed as shown in the following figure. You will also see a red i icon
in the cells that contain invalid data.

Click the i icon to see the error details and suggestions for correcting the error.
Correct the invalid data and then follow the steps from 1 to 3 to create a Solution.
Export to Excel
You can export only errors or entire data to Excel.
To export entire data to Excel, click Export Excel.
To export only the errors to Excel, click Export Errors.